

Introduction
There are lots of hosting websites, but I find firebase hosting particularly interesting. It is simple, with just few clicks, you can deploy your static and dynamic web content or your web Applications on a global CDN.
According to firebase.google.com, Firebase hosting is a production-grade web content hosting for developers.
In this article, I will walk you through the simplest way to deploy your react project on firebase.
Prerequisites:
This project is hosted on Firebase. You don't need to have previous knowledge of Firebase hosting as I will walk you through it. However, knowing how to use the command line interface is an advantage.
Steps for deploying your react project on Firebase.
Step 1
Go to https://firebase.google.com/
Step 2
Click on Get started and sign up.

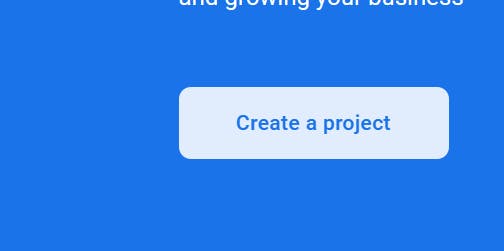
Step 3
Select "Create a project", and type your project name.
Step 4
On the next page, disable Google Analytics for the project if you wish and proceed to "Create project"
Step 5
Once your project is ready, click "continue" and you will be taken to your project.
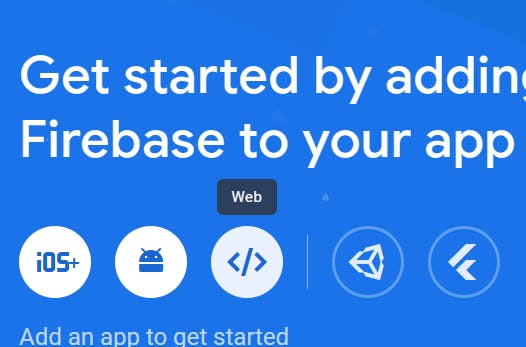
Step 6
Select to add firebase to your IOS Application, Andriod Application or Web Application.
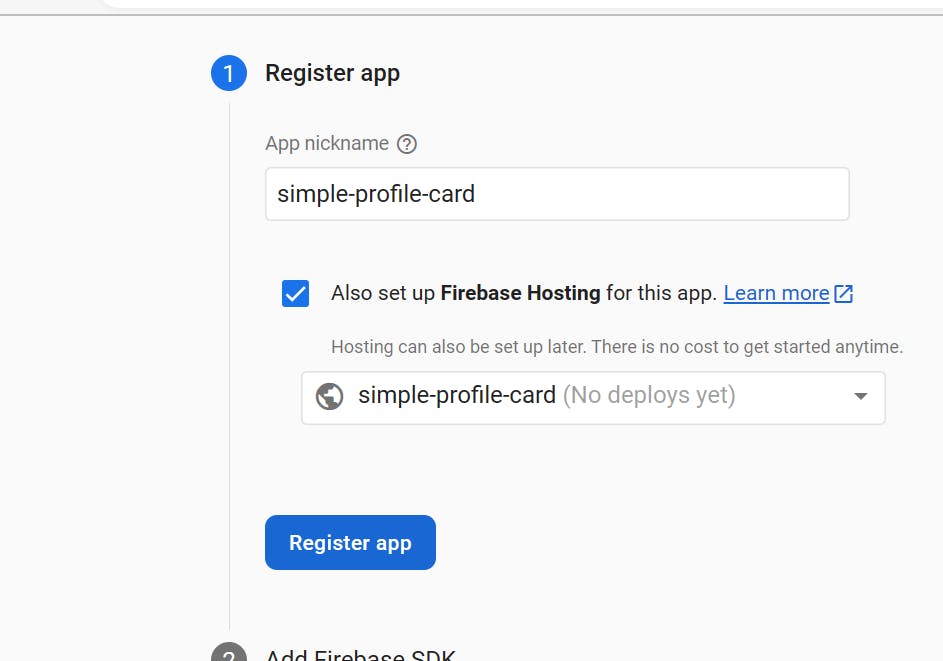
Step 7
Create a name for the web App and Register App.
Step 8
Install SDK in your local terminal by running the command npm install firebase, if you use npm or a module bundler such as webpack.

Step 9
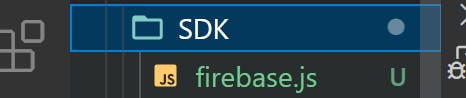
Add firebase SDK in your project by creating a separate folder and file to paste this SDK code that imports the function and configures firebase.
// Import the functions you need from the SDKs you need
import { initializeApp } from "firebase/app";
// TODO: Add SDKs for Firebase products that you want to use
// https://firebase.google.com/docs/web/setup#available-libraries

// Your web app's Firebase configuration
const firebaseConfig = {
  apiKey: "xxxxxxxxxx",
  authDomain: "xxxxxxxxxxx",
  projectId: "simple-profile-card",
  storageBucket: "simple-profile-card.appspot.com",
  messagingSenderId: "xxxxx",
  appId: "xxxxxxxxxxxxxxx"
};

// Initialize Firebase
const app = initializeApp(firebaseConfig);
Step 10
Export this file in order to be used in the application. Using export default. Click "Next" for the next step to follow.
Step 11
In the project, install the firebase command line tool with the command npm install -g firebase-tools using Vscode terminal or an external terminal.
Step 12
Run the command firebase login on your terminal to access firebase in your local machine.
Step 13
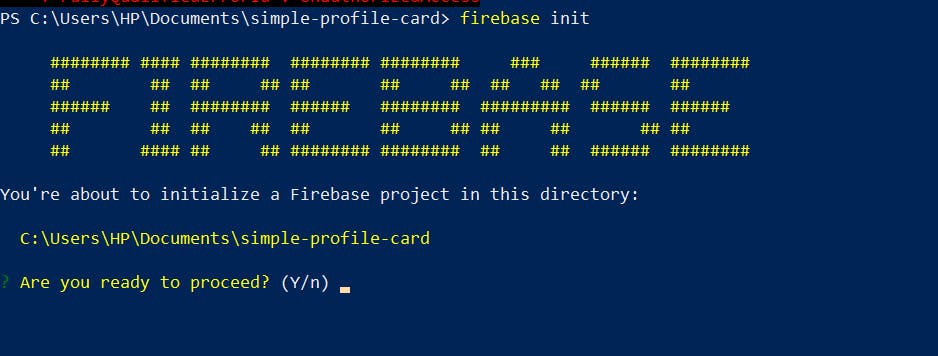
Initialize firebase by running the command firebase init
Step 14
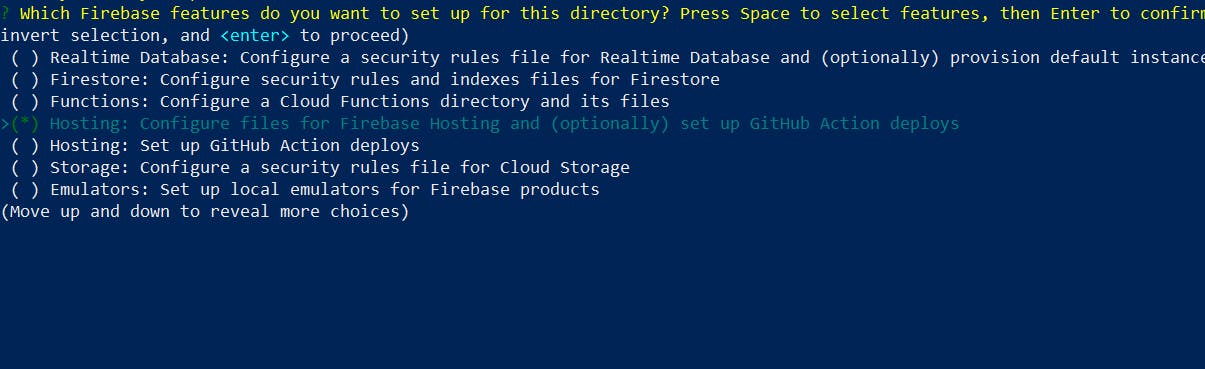
Navigate to the option “Hosting: Configure files for Firebase Hosting and (optionally) set up GitHub Action deploys”. Select the option using the space key and press Enter.
Step 15
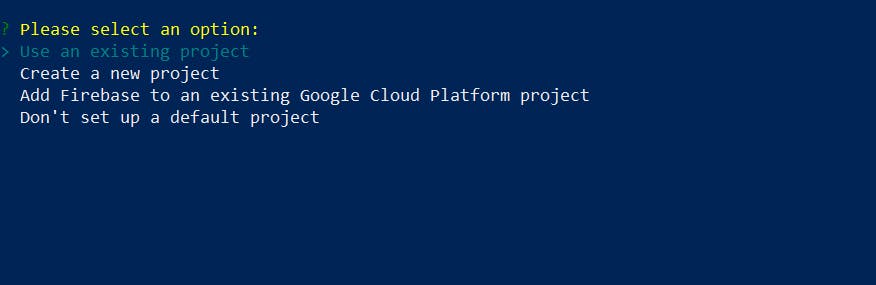
Navigate to the option “Use an existing project”, if you have already created one. Press "enter".
Step 16
Select the firebase project
Step 17
In answering “What do you want to use as your public directory?” provide the folder name where your application build version is located.
Step 18
Configure as a single-page app.
Step 19
Don't set up automatic builds and deploys with GitHub.
Step 20
Don’t overwrite file “build/index.html”, to complete firebase initialization.
Step 21
Run the command npm run build to create an optimized production build.
Step 22
Lastly, run the command firebase deploy to host your application.
Conclusion
Congratulations! You have successfully deployed your project and you can now access your project using the link provided.
Attributions
credits: