


Open source software (OSS) is a software released under a license, in which the original source code is made freely available for redistribution and modification. Free software according to FSF means that the users have the freedom to run, copy, distribute, study, change and improve the software. While open source is comprehensively explained by the OSI.
This article is a step-by-step guide to open source contribution.
step 1
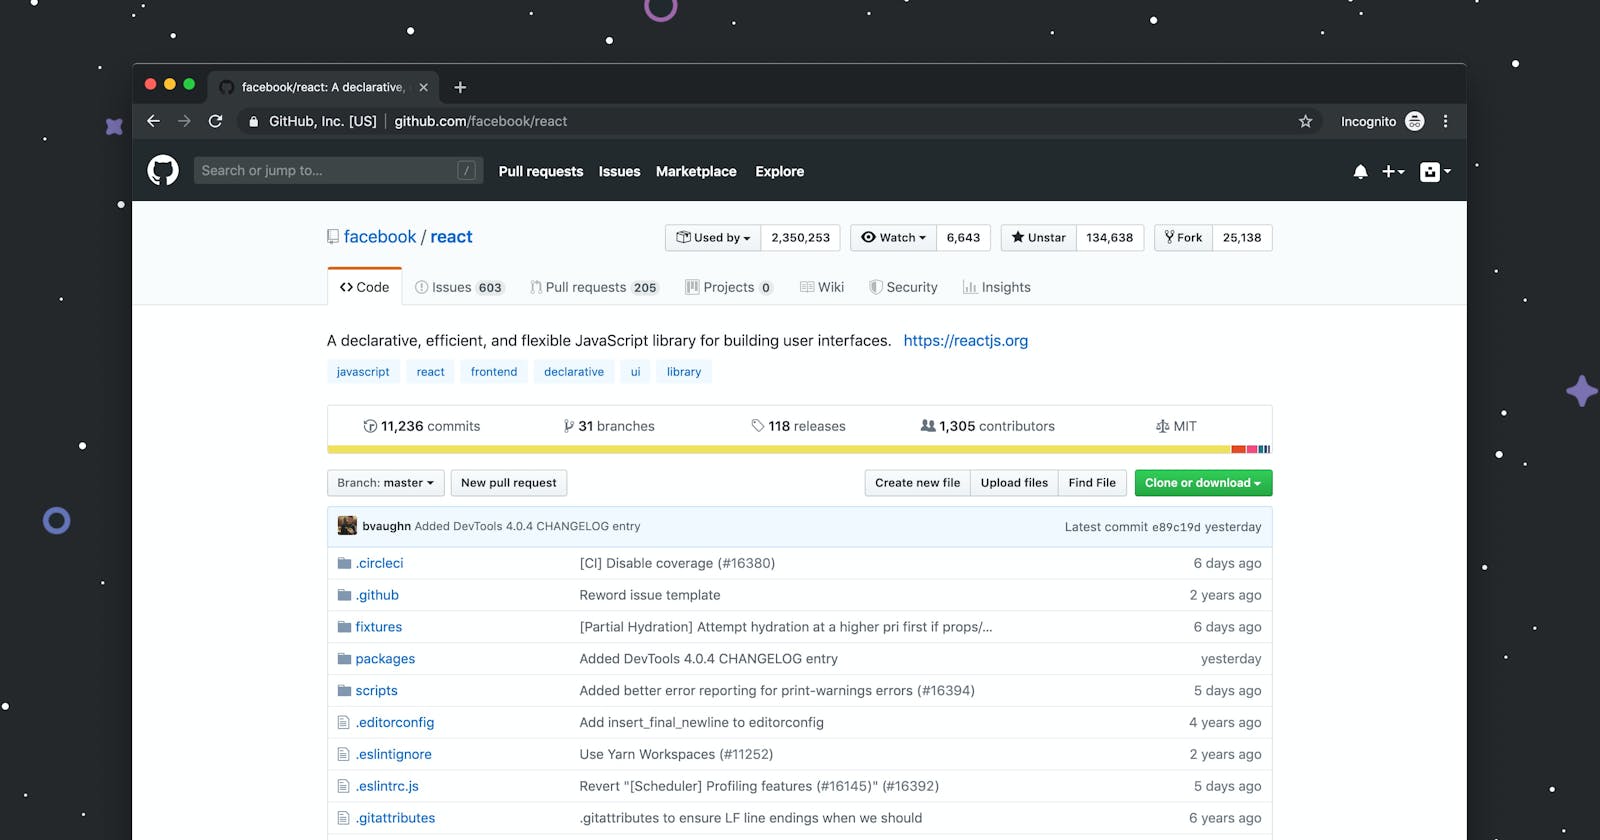
Identify the issue to resolve: Once you have created a Github account, you can explore other repositories. Github profile - Issues - new issue. Then leave a comment stating what you wish to modify and submit the comment.
step 2
Create a fork of the repository: When positive feedback is given, create a fork of the repository you wish to modify and copy the link.
step 3
Clone the repository: In your terminal, clone the forked repository by running the following command and pasting the repository's URL.
git clone <URL>
PS C:\Users\[your-name]\Desktop> git clone https://github.com/cassie202/teamy-v2
step 4
Navigate to the repository in the terminal: In the terminal, navigate to the repository using the command :
cd <repository name>
PS C:\Users\[your-name]\Desktop> cd teamy-v2
step 5
Create a new branch: create a new branch by running this command and assigning a branch name of your choice:
git branch <branch name>
PS C:\Users\[your-name]\Desktop\teamy-v2> git branch teamy-html
step 6
Switch to the new branch: In the terminal, run the following command using your new branch name :
git checkout <branch name>
PS C:\Users\[your-name]\Desktop\teamy-v2> git checkout teamy-html
step 7
Open code editor: At this stage, you make your contribution to the code in your code editor and may run this command from the terminal to open visual studio code as the case may be :
code .
step 8
Add the modified changes: After contributing to the code, you then add the particular file
git add <file name> or all the files git add .
PS C:\Users\[your-name]\Desktop\teamy-v2> git add public\index.html
step 9
Commit changes: commit the changes you have made using the command: git commit -m "Your commit"
PS C:\Users\[your-name]\Desktop\teamy-v2> git commit -m "refactor: I formatted the HTML file"
step 10
Push the new branch to upstream: After committing the changes made, these changes will remain in the staging area, ready to go to the remote server. Use this command to push the new branch to upstream, which points to the remote server:
git push - -set-upstream origin <branch name>
PS C:\Users\[your-name]\Desktop\teamy-v2> git push --set-upstream origin teamy-html
step 11
Push the changes: Here you make the final push using the command: git push
PS C:\Users\[your-name]\Desktop\teamy-v2> git push
step 12
Pull request: On Github, refresh the page of your forked repository and click on 'Compare and pull request'.
Also, add your comment describing in detail the changes you have made, and then Create a pull request.
Conclusion
Open source contribution allows you to collaborate in building software. With the steps above, you can get started with contributing to your favorite open-source project.